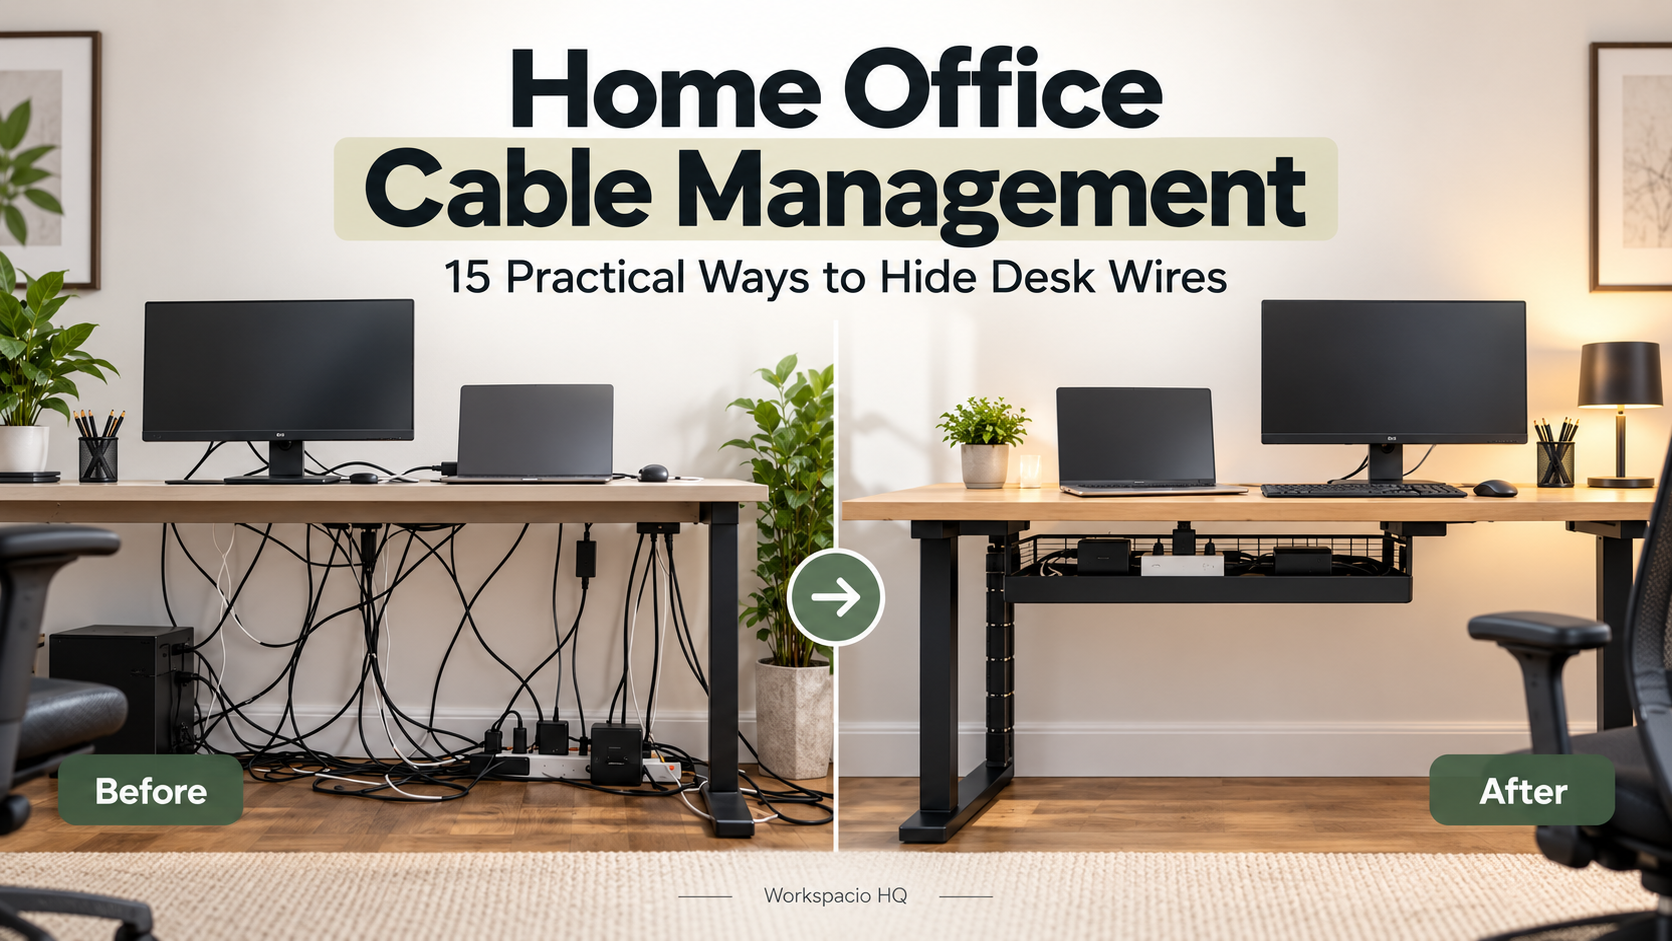
Home office cable management can feel simple at first, but even an organized desk can hide a mess of wires underneath.
You probably will not need every organizer mentioned in this guide. Start with the cables you already have, solve the problems that are actually happening at your desk, and add accessories only where they make the system easier to use.
Affiliate Disclosure: This post contains affiliate links. As an Amazon Associate I earn from qualifying purchases.
Want the Fastest Cleanup? Start Here
If you do not want to reorganize everything at once, begin with these five steps:
- Remove cables and chargers you no longer use.
- Decide where your main power connections should live.
- Get loose cords out of your chair and walking path.
- Route fixed cables along the back or underside of the desk.
- Bundle only the cables that genuinely follow the same route.
That alone can solve much of the visible clutter in a simple home-office setup.
1. Map Every Cable Before You Organize Anything
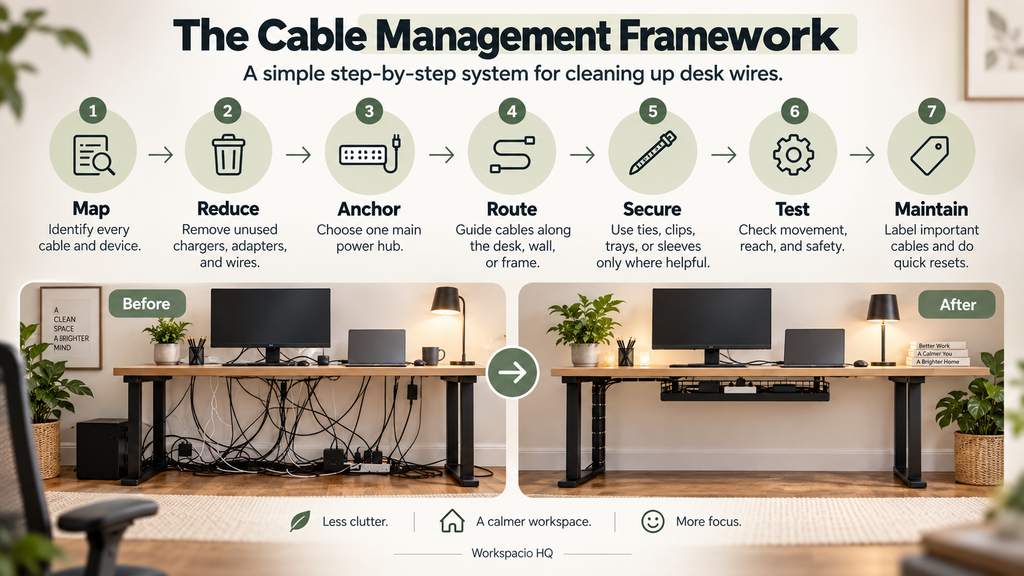
Before attaching a tray, sticking clips under the desk, or wrapping cables together, figure out what each wire actually does.
Trace every cable from the device to its destination. Your setup might include a monitor, laptop charger, lamp, speakers, docking station, phone charger, external drive, or other accessories.
For each cable, ask:
Where does it start and end? Does it need to stay connected? Does it need to move during normal use?
A monitor power cable can usually stay fixed behind the desk. A phone charging cable is different because you may reach for it several times during the day.
That distinction matters.
If you secure everything before understanding how it is used, you can end up with a desk that looks clean but becomes frustrating whenever something needs to be unplugged.
For now, forget about appearance. Understand the setup first.
If cable clutter is only one part of a messy workspace, see our guide to How to Organize a Cluttered Home Office Desk: 11 Practical Ideas for a broader desk reset.
2. Remove Cables and Chargers You No Longer Need
The easiest cable to manage is one that does not need to be there.
Look for:
- chargers for devices you no longer use,
- duplicate USB cables,
- disconnected adapters,
- old accessories,
- and unidentified cords that have been sitting behind the desk for months.
Separate them into three groups:
Daily use: Keep these at the desk.
Occasional use: Store them nearby instead of leaving them permanently connected.
No longer needed: Remove them from the workspace.
This is also a useful time to inspect the cords you plan to keep.
If an electrical cord is visibly frayed, cracked, crushed, or otherwise damaged, do not use cable management to hide the problem. Damaged electrical cords should be taken out of service rather than tucked inside a sleeve or tray.
Reducing the number of cables first gives you a much simpler system to organize.
3. Choose One Main Power Hub
When devices pull power from several different directions, their cables tend to spread in several different directions too.
Where practical, choose one logical area for the devices that normally stay connected.
Your monitor, laptop charger, lamp, and other fixed equipment may all be able to connect near the same part of the desk. Once they share a destination, the rest of the routing becomes much easier.
Keep It Reachable
A hidden power strip is not useful if unplugging one charger requires removing a tray and opening three cable bundles.
Use this test:
Can you identify and unplug one device without dismantling the rest of the setup?
If not, the power hub is too difficult to access.
And do not use organization as a reason to chain power strips together. Electrical accessories should always be used according to their manufacturer instructions and ratings.
If you’re still building your workspace, our 15 Smart Small Home Office Ideas to Maximize Your Space covers the core items worth considering before adding smaller accessories.
4. Keep Cables Out of Walking and Chair Paths
Sit at your desk and look at the floor around you.
Where do your feet normally rest? Where do your chair wheels travel? Which direction do you step when you stand up?
Those are the areas to protect first.
A loose cable running through the middle of that space can be kicked, pulled, or repeatedly rolled over by a chair.
Whenever possible, route it along the back of the desk, beside a wall, or through another protected path instead.
Do the same check underneath the desktop. A cable hanging directly through your knee or foot space can still be a problem even when it is invisible from the front.
A Useful Test
Roll your chair back, move your feet naturally, stand up, and walk around the desk.
If you have to push a cable aside during normal movement, its route needs another look.
And do not fix the issue by pulling the cord tight. Leave enough length for the connection to sit naturally without unnecessary tension.
5. Get Power Strips and Adapters Off the Floor When It Makes Sense
Sometimes the mess underneath a desk is not caused by thin cables at all.
It is the power strip, laptop brick, monitor adapter, and excess cable length piled together on the floor.
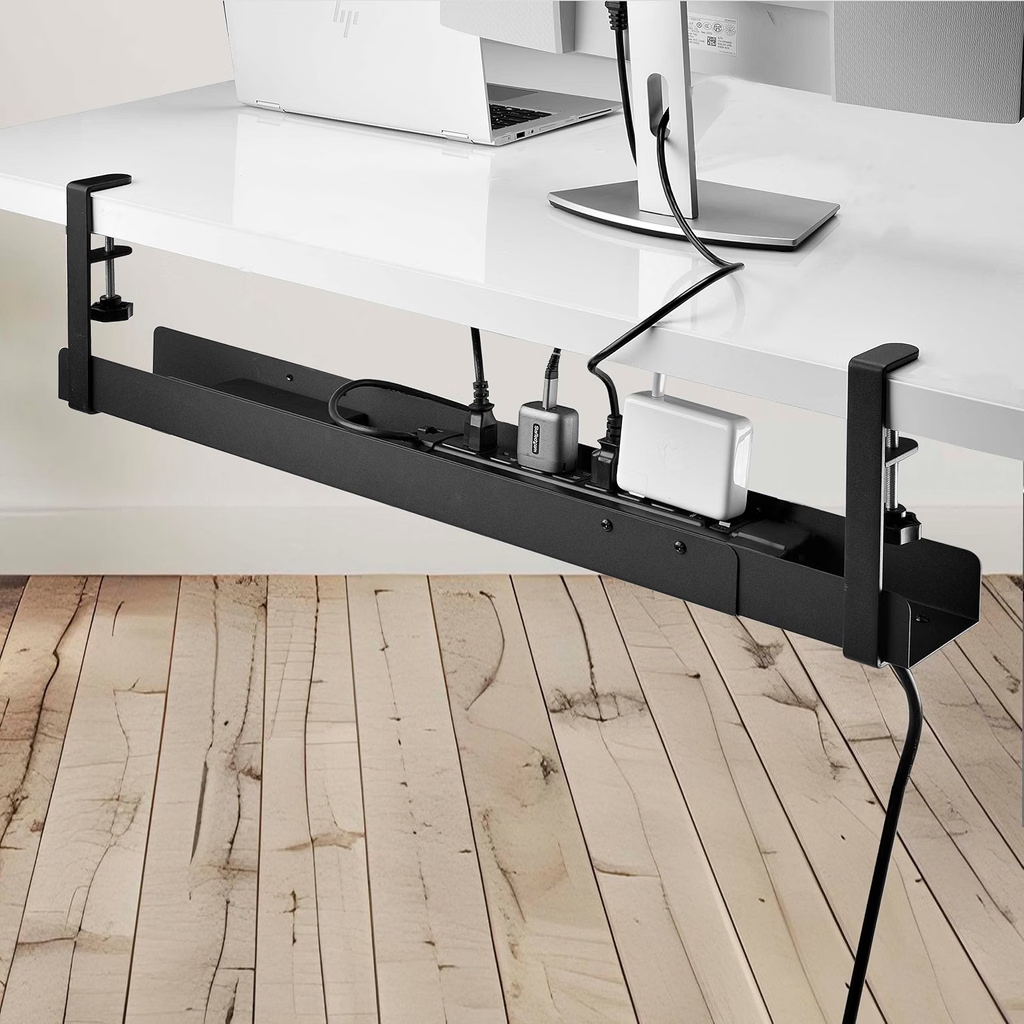
If your desk allows it, an under-desk cable tray can provide one defined place for those larger components.
It can be useful for:
- a power strip,
- larger adapters,
- fixed connections,
- and some excess cable length.
A simple desk with only a few wires may not need one.
When a Reusable Cable Tie Helps
For a setup with several adapters and a power strip, a clamp-on under-desk tray can help keep those larger components off the floor without requiring you to drill into the desk.
Best for: Desks with several fixed cables, adapters, and a power strip.
Skip it if: Your existing cables can already be routed cleanly without adding another organizer.
Before buying, check the desktop thickness and look underneath the desk for drawers, support rails, or other parts that might block the clamps.
Use this test:
If the tray disappeared, would you still have a real storage problem underneath the desk?
If the answer is no, you probably do not need one.
StarTech.com Under Desk Cable Management Tray
If your power strip, adapters, and excess cable are creating a loose pile under the desk, the StarTech.com Under Desk Cable Management Tray is a clamp-on option that can give those items a defined place without drilling into the desk.
Check your desktop thickness and underside clearance before buying, especially if your desk has drawers, support rails, or a thick frame.
6. Route Cables Along the Desk Instead of Letting Them Hang
Once the power area has a location, give the remaining cables a predictable path.
Rather than letting every wire drop wherever gravity takes it, use the rear edge or underside of the desk as the main route when practical.
A monitor cable might travel:
Monitor → back of desk → underside → power hub
A laptop charger can follow a similar path while leaving enough free length near the laptop for normal movement.
The route does not need to be invisible. It needs to be understandable.
Avoid adding unnecessary turns just to make a cable disappear.
Lay the cables roughly in position first. Use the desk normally. If everything reaches comfortably, secure the route afterward.
7. Use Reusable Ties for Cables That Share a Route
Reusable ties work best when they hold together a few cables that already belong on the same path.
For example:
Monitor group: Display cable + monitor power
Laptop group: Charger + dock connection
Accessory group: Other fixed peripheral cables
Do not pull an unrelated charging cable into the bundle simply because it passes nearby.
Leave the ties snug enough to hold the group, but not so tight that cables are crushed or forced into sharp bends.
Before closing a tie, use this test:
Could I remove one cable from this group without cutting anything or rebuilding the entire desk?
If not, simplify the bunle
When a Reusable Cable Tie Helps
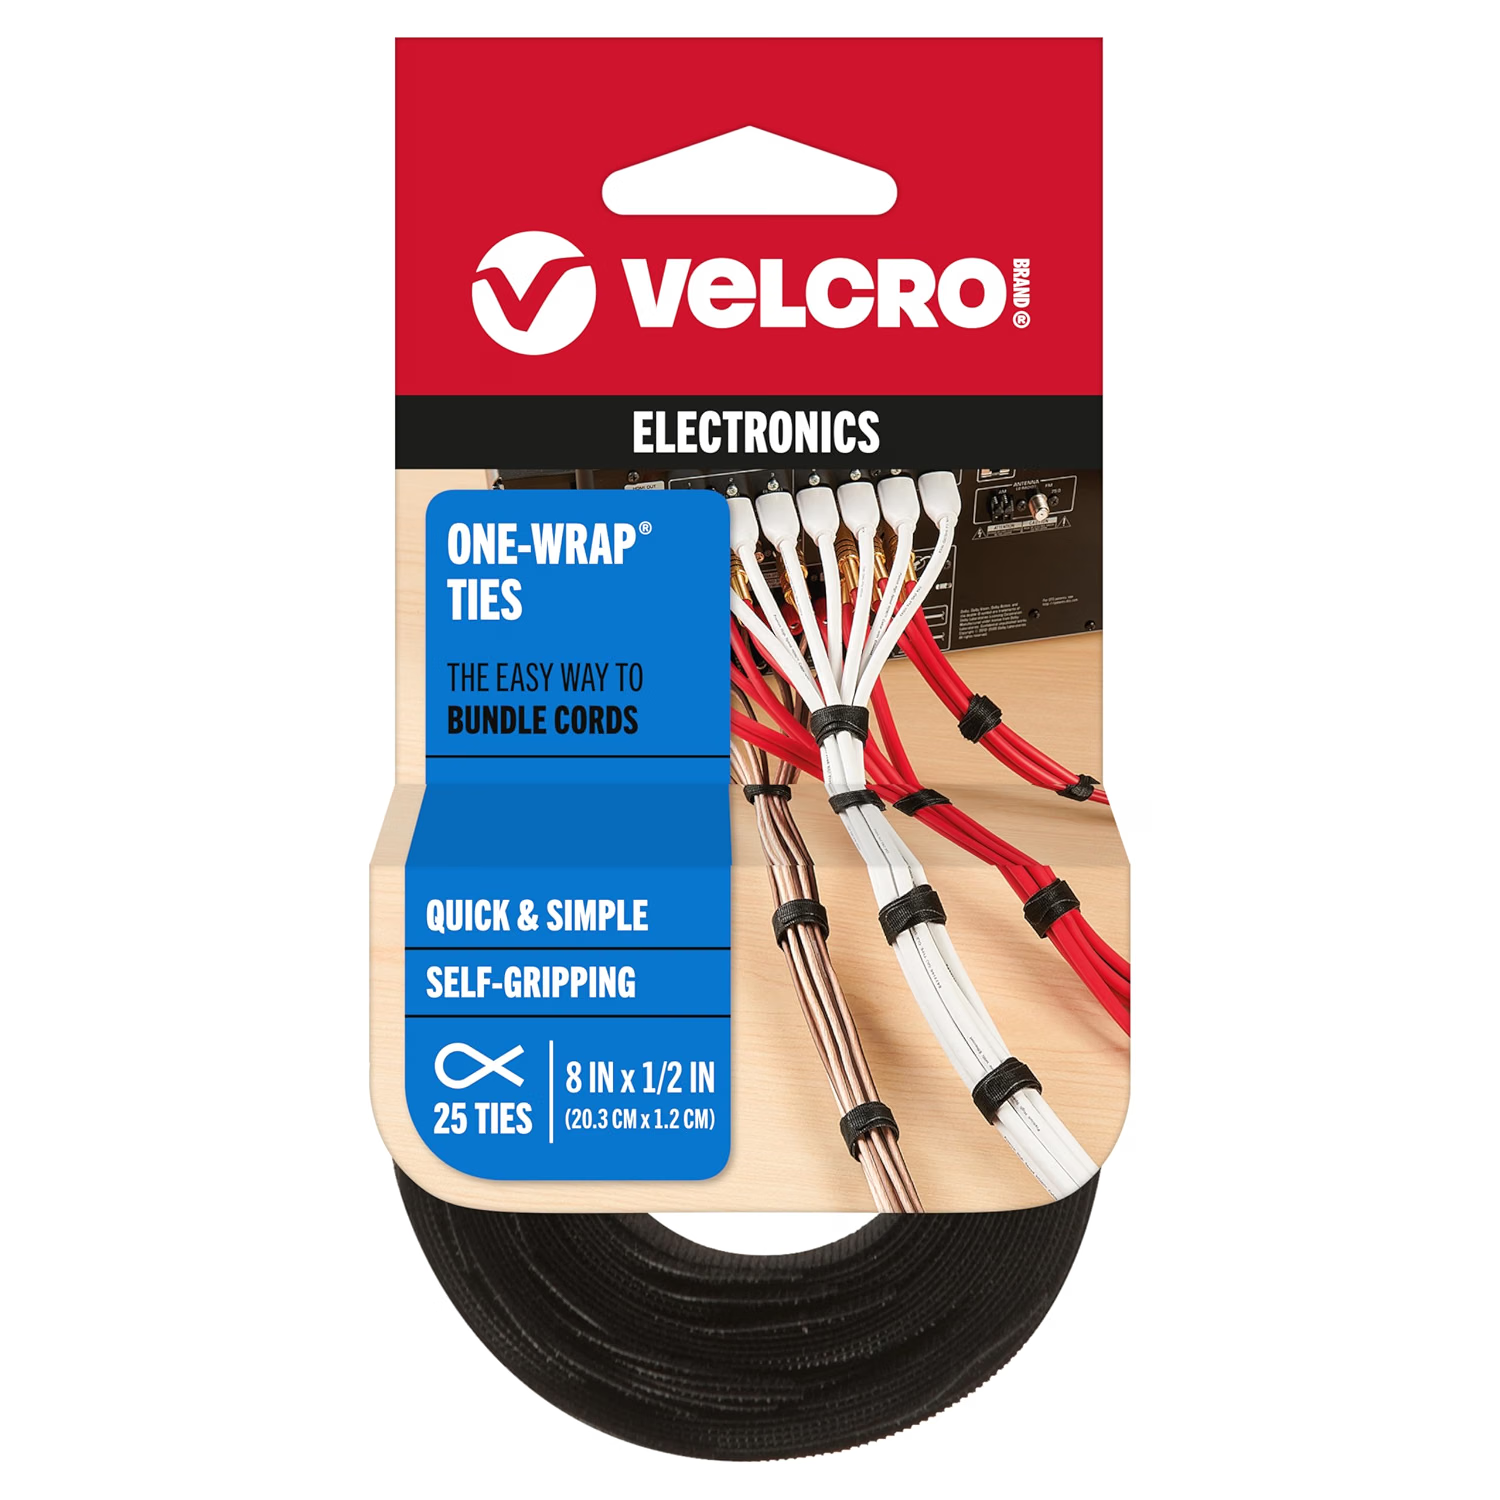
Reusable hook-and-loop ties can make sense when several cables share the same route but you still want to remove or add cables later.
VELCRO Brand ONE-WRAP Ties are a reusable option for this type of setup.
8. Keep Frequently Used Charging Cables Within Reach
A phone or laptop charging cable does not need the same treatment as a monitor power cable.
If you reach for it every day, completely hiding it can make the desk less convenient.
A small cable clip or holder near the point where you normally charge the device can stop the connector from falling behind the desk.
That is often all you need.
Use a clip when you can name the specific annoyance it solves:
“My phone charger falls behind the desk every time I unplug it.”
That is a good reason.
“Cable-management setups are supposed to have clips.”
That is not.
Keep frequently used cables accessible and route the rest out of the way.
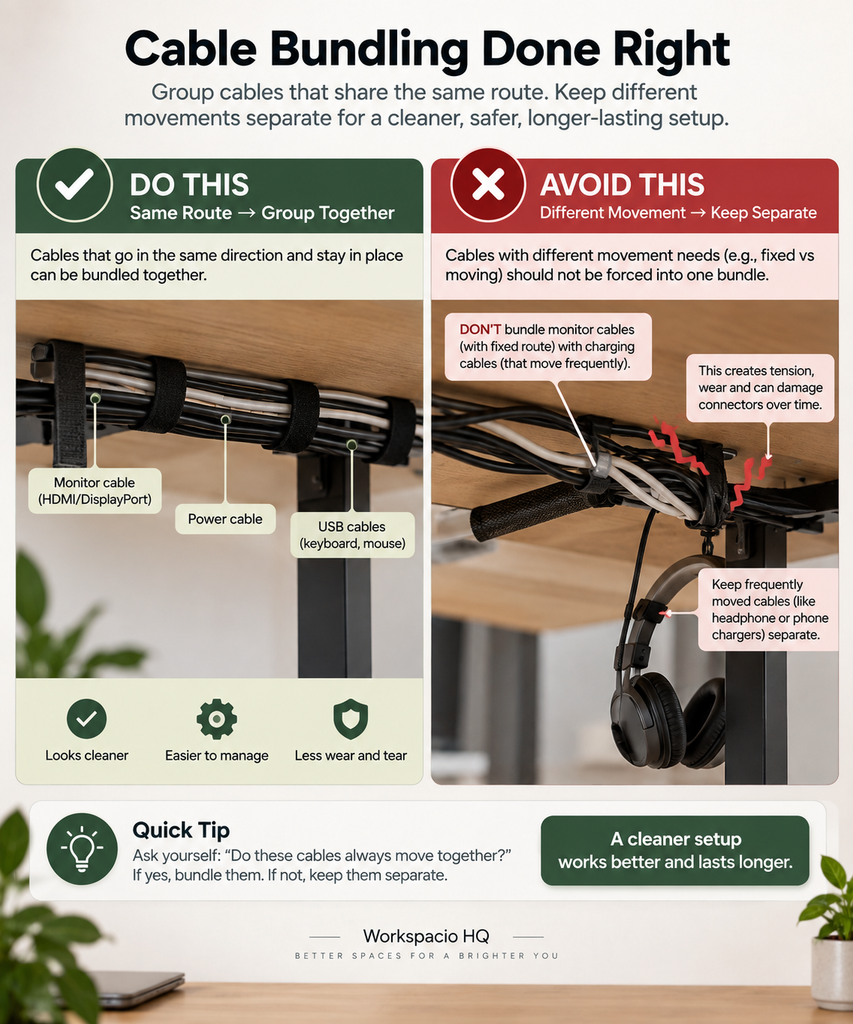
9. Bundle Only Cables That Actually Belong Together
Two cables should usually share a bundle only when they:
- begin in roughly the same area,
- travel along the same route,
- and need similar amounts of movement.
If one of those conditions is missing, separate routes may work better.
This matters especially when one device moves regularly while another stays fixed.
A laptop charger should not be trapped in a monitor bundle if you frequently move the laptop.
Before tightening anything, ask:
If I replace this device next month, can I remove its cable without disturbing everything else?
That question catches a lot of overcomplicated cable setups.
10. Manage Excess Cable Length Without Creating Another Mess
Correct routing does not solve a cable that is several feet longer than necessary.
If a shorter compatible cable is appropriate for the device, that can sometimes simplify the setup. But do not casually replace manufacturer-specific power cords or adapters purely for appearance.
When the original cable needs to stay, keep the excess near the route it already follows rather than creating a separate pile.
For appropriate low-voltage or data cables, a loose service loop can leave some useful length for future adjustments.
Avoid sharp bends, crushing, or extremely tight coils.
A good balance is:
Enough slack for normal movement, but not enough to form a loose pile.
11. Use a Sleeve or Cable Spine for the Visible Drop
After organizing the underside of the desk, you may still have several wires traveling together toward the floor.
That is where a cable sleeve or cable spine can make sense.
A sleeve groups several cables that already share the same visible route.
A spine provides a more structured vertical path and may be useful for some height-adjustable desks.
But neither product fixes poor routing.
If the cables inside the sleeve are tangled, difficult to identify, or heading to different places, the sleeve has only hidden the problem.
Route first. Sleeve second.
And if one neatly routed cable is all that remains visible, leaving it alone may be the simpler solution.
When a Cable Sleeve Helps
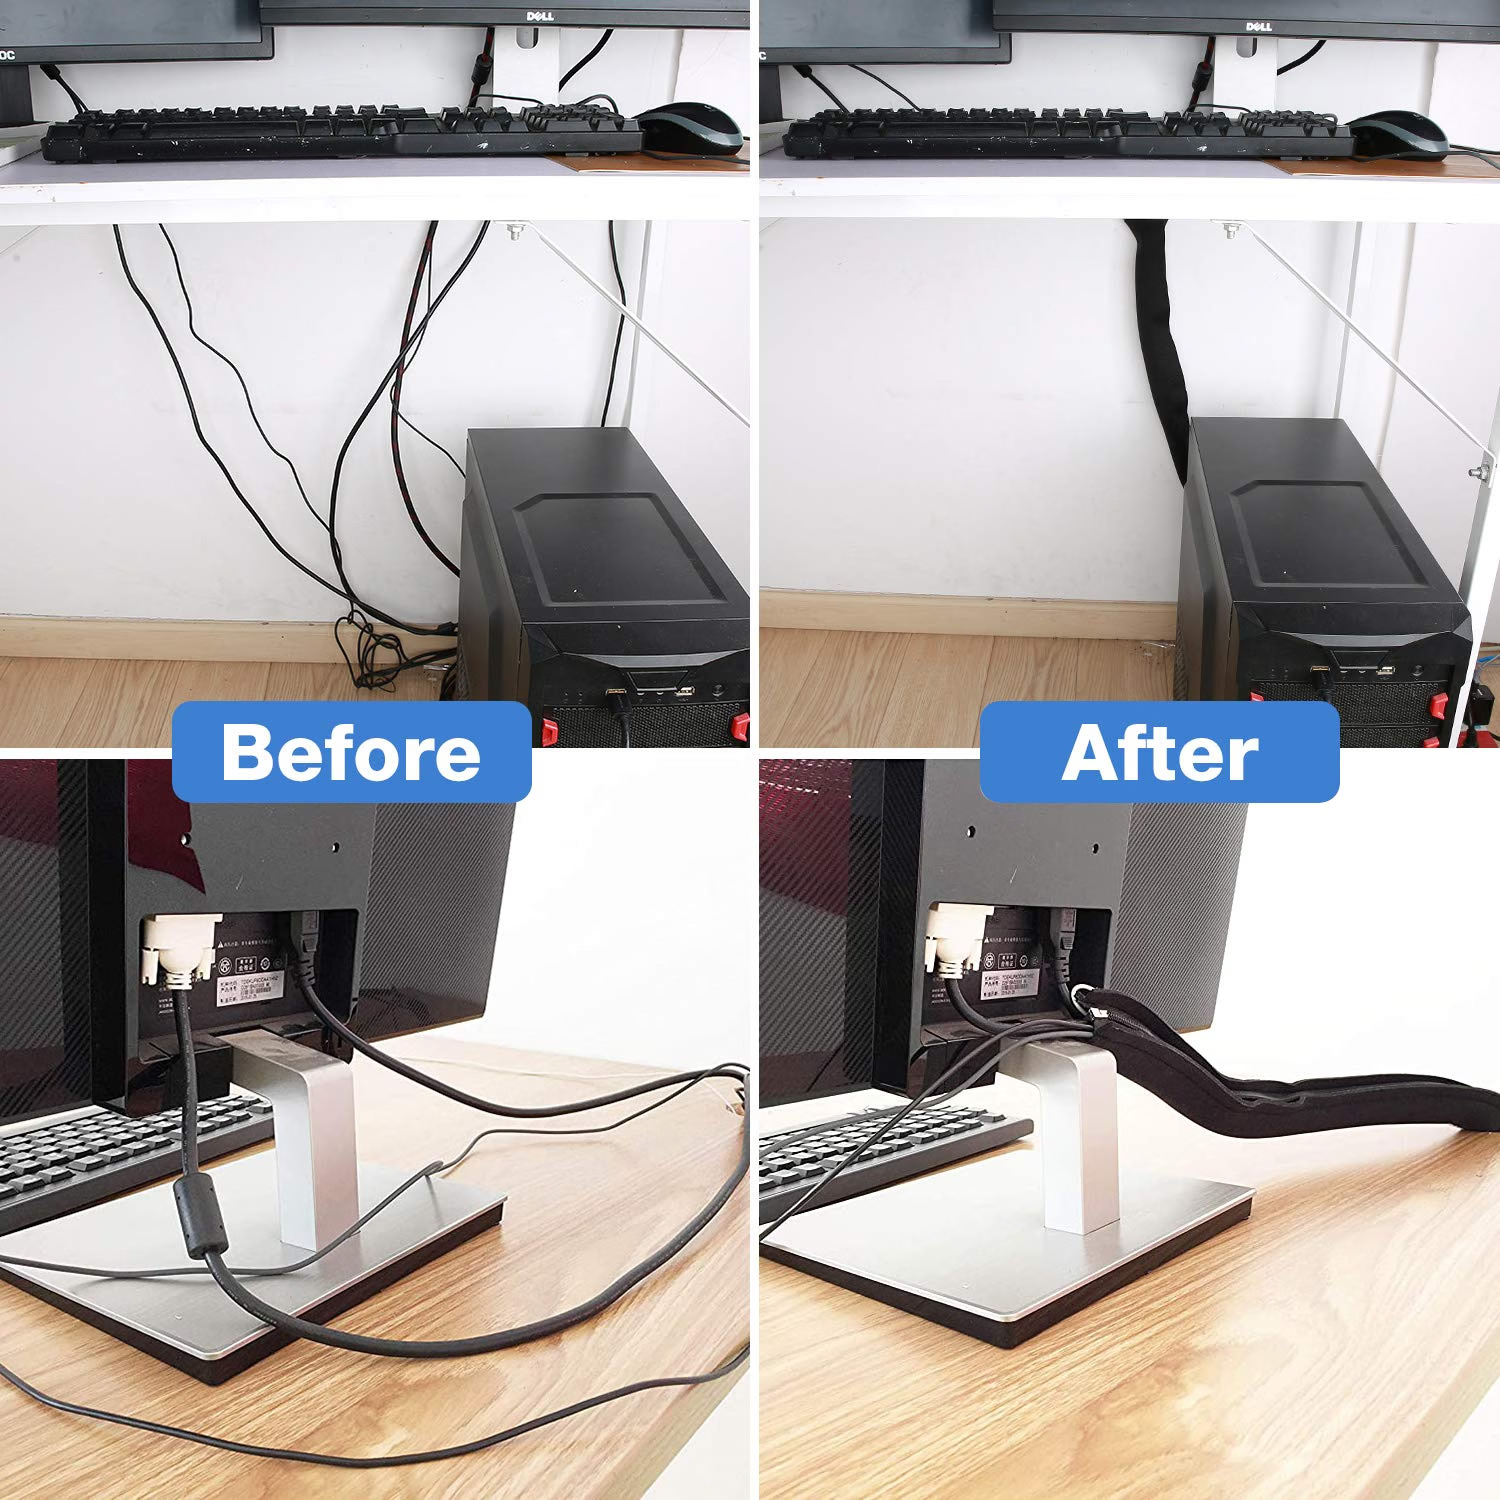
If several cables already share one visible vertical route, a sleeve can keep them together in a cleaner run without changing where those cables actually go.
JOTO Cable Management Sleeve is one option for this type of setup.
Skip it if: You only have one neatly routed visible cable.
12. Use a Raceway When a Cable Has to Travel Along a Wall
Sometimes the desk and outlet are simply too far apart.
If a cable genuinely needs to run along a wall or baseboard, a surface raceway can give it a defined path instead of leaving it exposed.
Follow existing lines where possible:
- a baseboard,
- a wall corner,
- or the back of nearby furniture.
Measure the route before buying anything, including turns and corners.
A raceway should solve a real routing problem, not just hide a cable that could have taken a simpler path.
When a Raceway Helps
A surface-mounted raceway is most useful when cables genuinely need to travel along a wall or baseboard and there is no cleaner direct route.
Before installing an adhesive raceway, consider the wall finish as well as the cable size and route.
No drilling does not automatically mean no surface damage.
If moving the desk a few inches would eliminate the long cable run entirely, try that before adding a raceway.
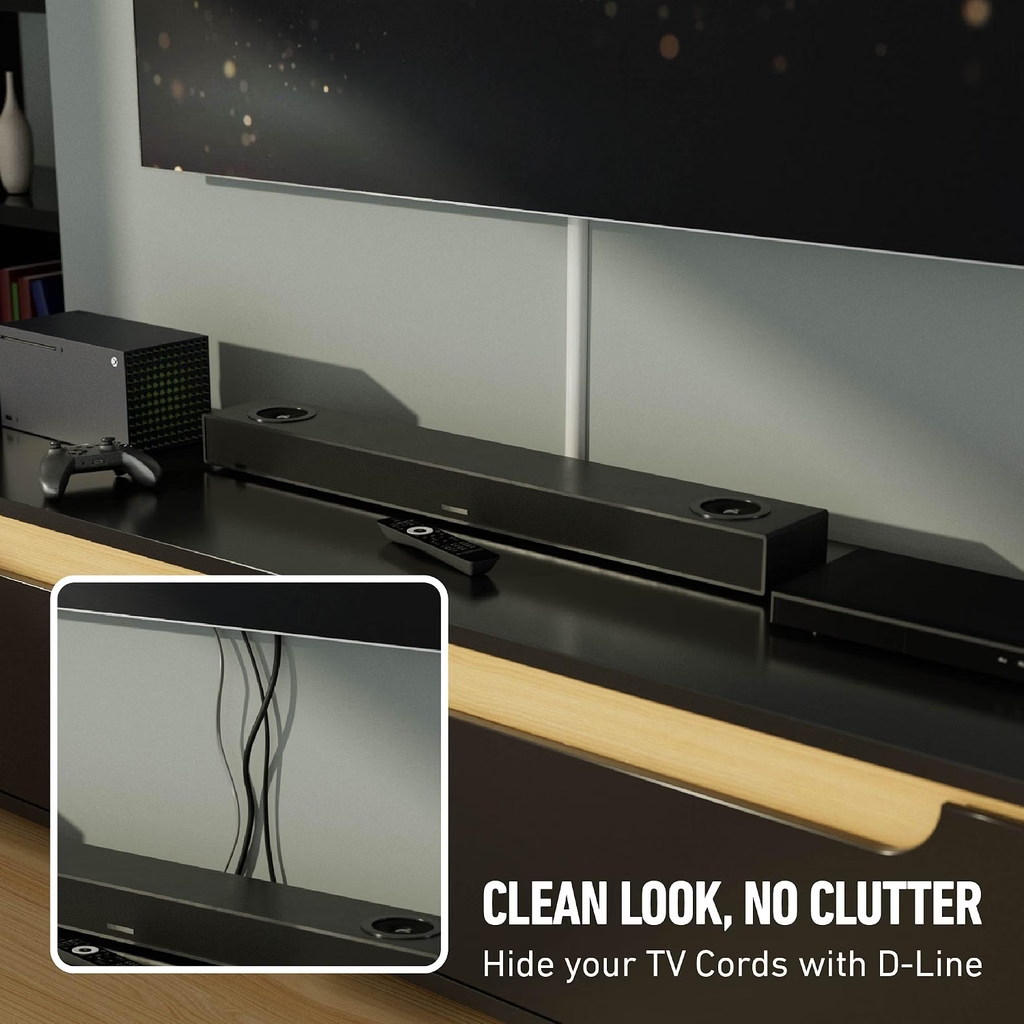
Product Option: D-Line Mini Raceway
If a cable genuinely needs to travel along a wall or baseboard, the D-Line Mini Raceway can provide a cleaner surface-mounted route.
Measure the cable path before buying, and make sure the raceway has enough room for the number and thickness of cables you plan to run through it.
Also consider the wall finish before using adhesive mounting, especially on painted or delicate surfaces.
If limited space is forcing your desk, outlets, and storage into awkward positions, these 15 Smart Small Home Office Ideas to Maximize Your Space may also help you make better use of the room.
13. Create One Charging Zone
Phone, earbud, watch, and accessory chargers can quietly rebuild desk clutter even after the main cables are organized.
Give the devices you charge regularly one predictable area instead.
That might be:
- one rear corner of the desk,
- beside the monitor,
- a small side shelf,
- or another spot near your power hub.
Keep only regularly used chargers there.
A cable for a device used once every few weeks can stay in a drawer until you need it.
You do not need a dedicated charging station just because one exists. If two neatly routed cables already handle your daily devices, the problem is solved.
A charging zone is successful when you can answer two questions immediately:
Where does this device charge? Where will its cable be when I unplug it?
14. Choose No-Drill Solutions for Temporary or Rental Workspaces
If you rent or use furniture you do not want to modify, prioritize solutions that can be reversed later.
Useful options can include:
- clamp-on trays,
- reusable ties,
- removable cable clips,
- sleeves,
- and edge-mounted holders.
The main tradeoff is that removable does not always mean harmless.
Adhesive products can leave residue or affect some paints, laminates, veneers, and other finishes.
For heavier cable groups, a tiny adhesive clip may also be the wrong tool even if it initially sticks.
Before choosing a no-drill solution, ask:
How will I remove this six months from now?
If the answer involves scraping adhesive from a visible surface or pulling off a finish, consider another attachment method.
15. Label Important Cables and Keep the System Maintainable
Cable management is not finished when the desk looks clean.
It is finished when you can still understand the system later.
If several plugs disappear into the same tray, label the important ones.
For example:
- Monitor
- Laptop
- Dock
- Lamp
- Speakers
- Router
For harder-to-trace connections, label both ends.
Do a Quick Reset Every Few Months
Cable clutter rarely returns overnight.
A charger gets added. A new accessory appears. An old USB cable stays connected even after you stop using it.
Every few months, check:
- Is every cable still being used?
- Has anything dropped into the leg area?
- Did a new device get added without a proper route?
- Are the main connections still reachable?
A system that is easy to maintain will usually stay cleaner than one designed only to look perfect on installation day.
What Changes With a Standing Desk?
A standing desk creates one extra requirement: movement.
A cable route may look perfect at sitting height and become too short when the desk reaches standing height.
Before finalizing the setup, move the desk through its complete range.
Watch for cables that:
- become tight,
- pull on plugs or devices,
- catch on the frame,
- or form large loose loops near the floor.
Where practical, keeping more of the cable system attached to the moving desk can reduce the number of individual wires traveling between the desktop and wall.
The most important test is straightforward:
Run the desk from its lowest to highest position before tightening the final ties.
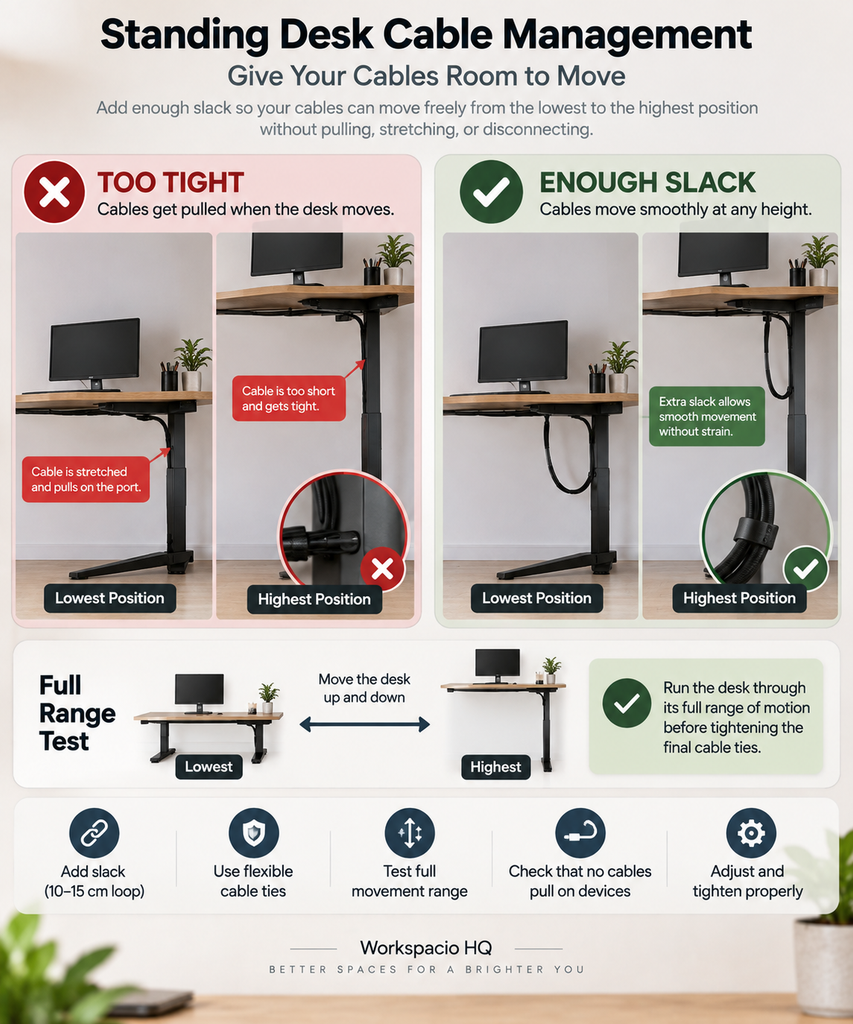
If you have to unplug something or support a cable with your hand during that test, the route is not finished.
Home Office Cable Management Safety Basics
A cleaner setup should also remain easy to inspect.
Keep these basics in mind:
- Remove visibly damaged electrical cords from service.
- Keep cords away from walking and chair paths where practical.
- Avoid crushing or pinching cables under furniture.
- Do not overload power strips.
- Do not daisy-chain power strips.
- Use electrical accessories according to their manufacturer instructions.
- Do not use extension cords as a substitute for permanent wiring.
- Keep important power connections accessible.
The safest-looking setup is not necessarily the one where every electrical component is hidden.
You should still be able to see, identify, and reach important power connections when necessary.
Frequently Asked Questions
What is the easiest way to manage cables under a desk?
Remove unused cables first, choose one main power area, and route fixed cables along the back or underside of the desk.
Use reusable ties only where cables share the same path. If a power strip and several adapters are still creating a pile, an under-desk tray may help.
How can I hide desk wires without drilling?
Clamp-on trays, reusable ties, cable sleeves, and removable cable clips can handle many setups without drilling.
Check adhesive products carefully because some surfaces can still be affected during removal.
Should I put my power strip on the floor or under my desk?
There is no single correct location for every desk.
An accessible under-desk location can reduce loose cables on the floor when the desk and power strip are suitable for that setup. Follow the manufacturer’s mounting and use instructions and keep the strip reachable.
How do I manage cables on a standing desk?
Plan the cable route for both sitting and standing positions.
Move the desk from its lowest to highest setting before securing everything permanently. No cable should become tight, catch on the frame, or create excessive slack on the floor.
Are cable ties or cable sleeves better?
They solve different problems.
Reusable ties organize smaller cable groups along the same route.
Cable sleeves are better for several cables that already share one visible path.
In some setups, you may use ties underneath the desk and a sleeve only for the visible cable run.
How do I stop charging cables from falling behind my desk?
Keep frequently used charging cables separate from fixed cable bundles.
A small cable clip or holder near the place where you normally charge the device can keep the connector within reach after you unplug it.
A Cleaner Cable Setup Starts With the Route
You do not need to make every wire disappear.
Remove the cables you no longer need. Decide where power should live. Give the remaining cables a clear route, keep them away from areas where you move, and secure only what actually needs securing.
Then add a tray, tie, clip, sleeve, or raceway when it solves a specific problem.
And when a new device eventually arrives, you should be able to add its cable without rebuilding everything underneath the desk.
That is a better measure of good cable management than simply having no visible wires.
Know what every cable does, know where it goes, and make sure you can still reach it when something changes.